1.访问官网http://cloudreve.org/
2.下载安装包
选择cloudreve_3.4.2_linux_arm64.tar.gz
解压得到cloudreve没有后缀文件
3.新建文件夹cloud
将文件上传到树莓派的路径/home/pi/cloud
4.运行程序
先进入文件目录
cd /home/pi/cloud
再输入
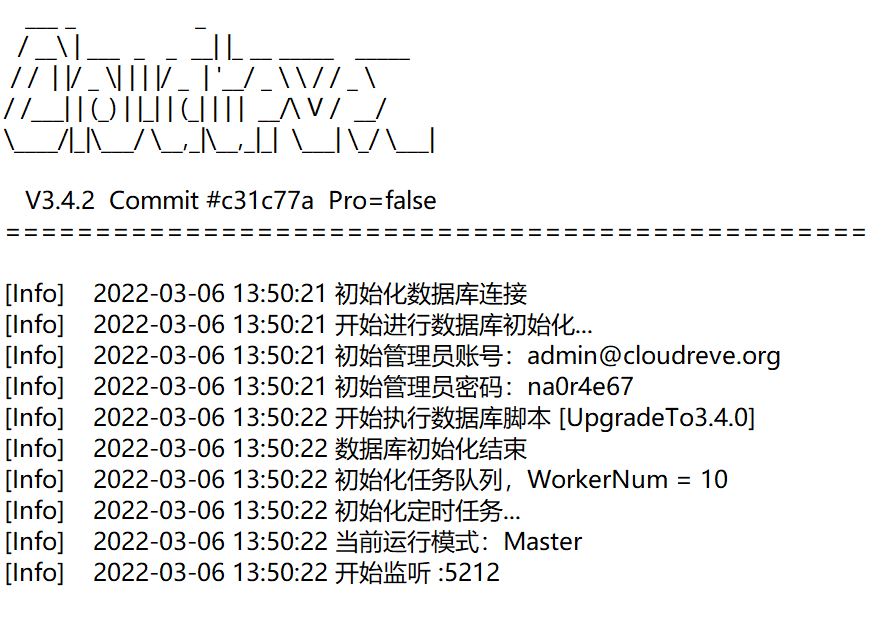
./cloudreve
5.浏览器输入树莓派IP:5212
使用系统的初始账号和密码登录即可,后面可以自行更改。
6.设置cloudreve后台启动
编辑配置文件
nano /usr/lib/systemd/system/cloudreve.service
将下文 PATH_TO_CLOUDREVE 更换为程序所在目录:
[Unit]
Description=Cloudreve
Documentation=https://docs.cloudreve.org
After=network.target
After=mysqld.service
Wants=network.target

[Service]
WorkingDirectory=/PATH_TO_CLOUDREVE
ExecStart=/PATH_TO_CLOUDREVE/cloudreve
Restart=on-abnormal
RestartSec=5s
KillMode=mixed

StandardOutput=null
StandardError=syslog

[Install]
WantedBy=multi-user.target
Ctrl+o保存Ctrl+x退出
更新配置
systemctl daemon-reload
启动服务
systemctl start cloudreve
设置开机启动
systemctl enable cloudreve
管理命令:
启动服务
systemctl start cloudreve
停止服务
systemctl stop cloudreve
重启服务
systemctl restart cloudreve
查看状态
systemctl status cloudreve


